Evidence of Work
In Design Step 3, our group began on the testing of our product and thoroughly checked that all aspects were planned well enough before we start creating the final product. Through this, we have narrowed down the look of what will be our website and over all marketed product. To aid in the physical planning of our product, we learning 3D modeling basics on a 3D modeling program "OnShape", which contained numerous tutorials that we were to complete. Because our product is almost entirely non-physical, learning how to design a physical product wasn't to useful for the purposes of our project but still was a fun experience.
Content
Life Cycle Doc - The Life Cycle Assessment allowed our group to put the thought process for every aspect of the project onto paper, or rather a Google Doc. The document included a list of raw materials, distribution process, development process, waste, and other elements to our product.
Life Cycle Diagram - Part of the Life Cycle process was creating a visually concise version of all of our thoughts. We did this in a flow diagram which demonstrates the chain of events going into our product.
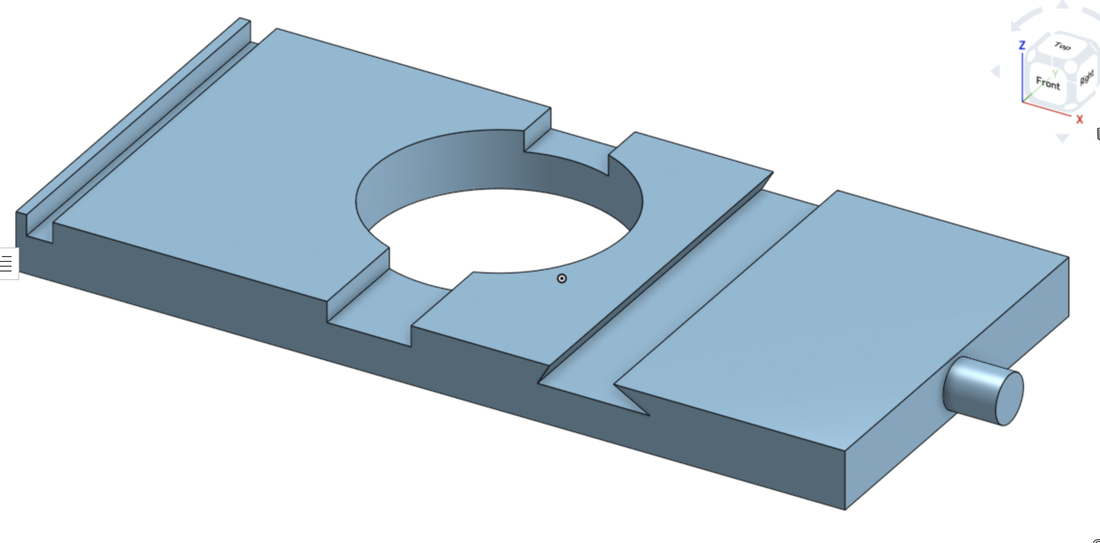
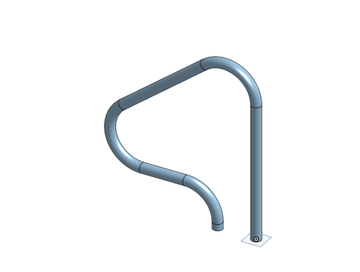
OnShape Tutorials 1 & 2 - As mentioned above, part of Step 3 was completing 3d modeling tutorials on OnShape. These tutorials showed us the fine details that go into making an effective and professional 3d model.
|
|
Reflection
Overall, Design Step 3 wasn't the most time consuming portion of our project so far. Most of the workload was in the Life Cycle Doc and Diagram, and the rest was fairly simple OnShape tutorial work that taught us useful information about 3d model design process. Even though it was a pretty fun program to mess around with, I felt that it had no practical use when it came to our specific project. I was very happy with our entire groups' efforts on the life cycle assessment. I feel that me and my teammates all contributed an equal amount of quality work to the document and that all our thoughts and ideas were well represented on it.
